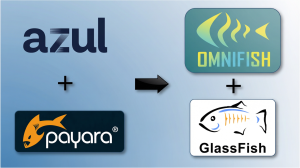
Announcing OmniFish Build of Payara
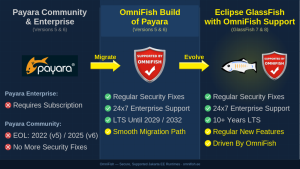
We start offering our supported builds of Payara to allow a smooth transition to a secure and production-ready Payara Server build supported by OmniFish, without having to migrate to GlassFish to be able to benefit from our support services.
Announcing OmniFish Build of Payara Read Post »